
Key takeaways
Use a guided form if you know the character but do not want to write a detailed prompt.
The shortest path is ancestry, class, presentation and visual style.
Adding one appearance detail or signature item makes a portrait more recognizable.
A portrait generator creates artwork, not a rules-validated D&D character sheet.
What “no prompt” actually means for an AI portrait
A no-prompt workflow does not mean the system can infer your character perfectly. AI still needs input about the subject and visual direction. The difference is the interface: instead of typing a paragraph such as “a weathered half-elf ranger in moss-green leather under silver forest light,” you select an ancestry, class and style, and optionally add small details that matter to you.
For a first player character portrait, this removes a common obstacle. You can focus on identity rather than prompt syntax, aspect-ratio parameters or model-specific terminology. The generated picture is still an interpretation, so results can vary and may need another attempt. If you require precision editing across many regions of an image, a general-purpose AI art studio is a more appropriate tool.
Step 1: choose four basics in the Quick D&D generator
Open the Quick D&D Character Generator. Choose the ancestry that fits your campaign character, choose the class that best describes the role, pick a presentation, and choose a visual style. These inputs create enough structure to start an image. You do not have to invent an expert prompt or learn how to phrase camera directions before you have seen a portrait.
For example, select Elf, Ranger, your preferred presentation and a painted fantasy style. That is a workable starting concept for an upper-body portrait. Think of it as a first draft of visual identity, not a complete character sheet. D&D character mechanics such as ability scores, proficiencies, spell preparation and level progression belong in your normal rules-based character builder.
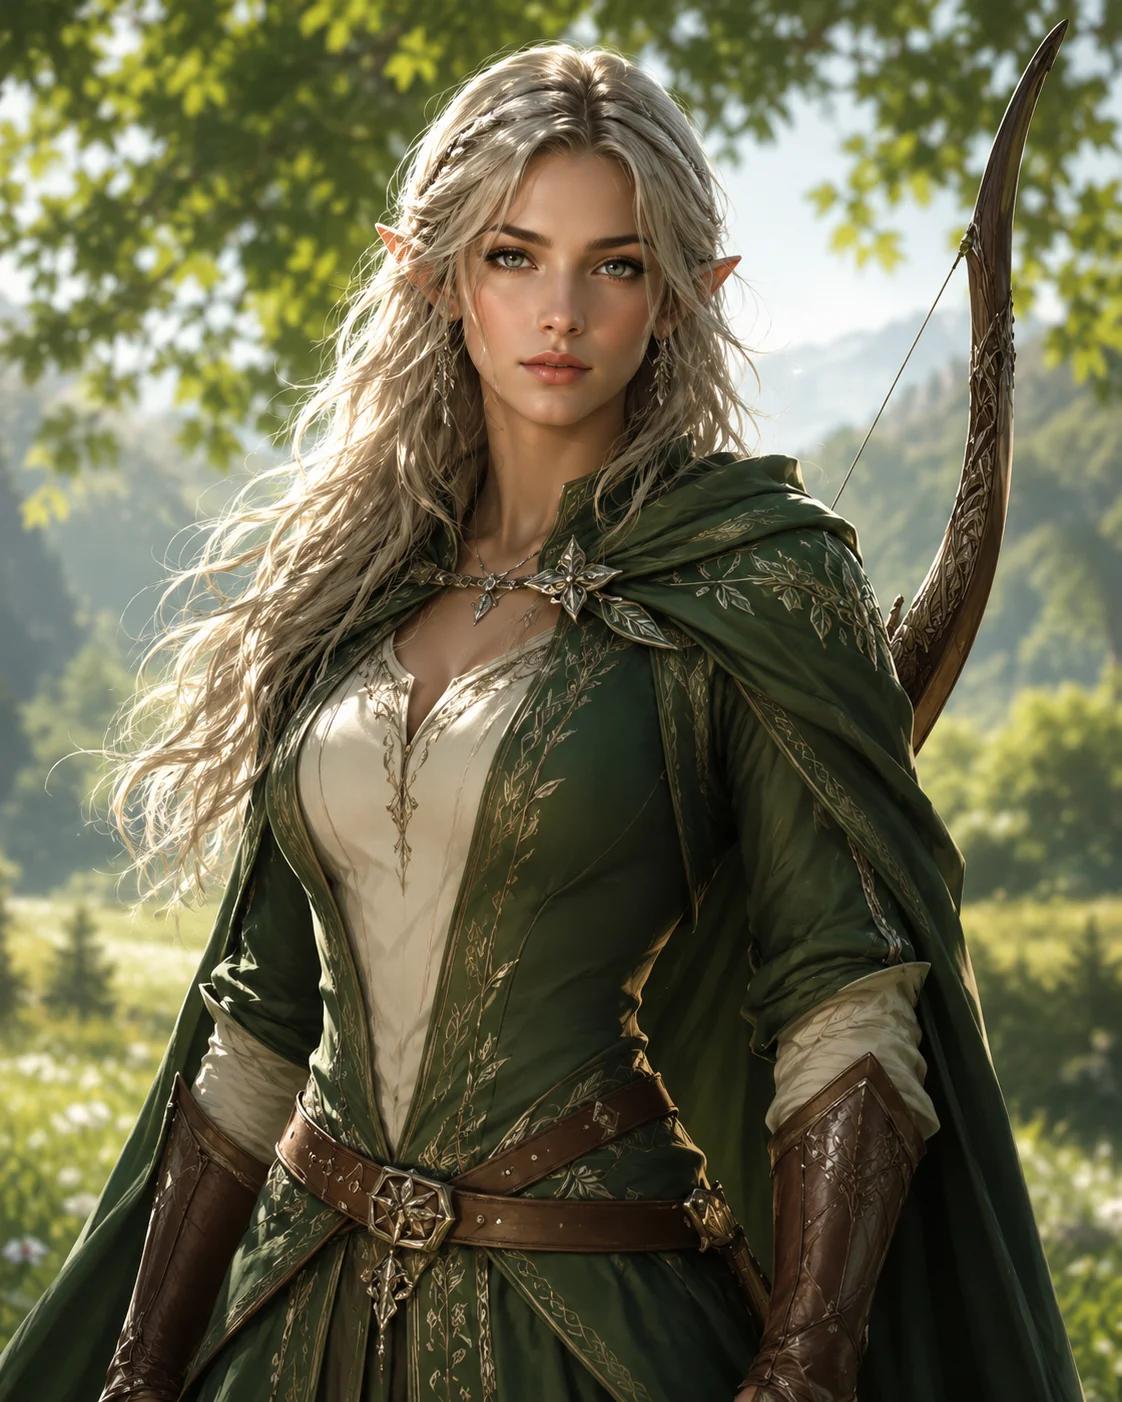
- Ancestry: the visible fantasy lineage cue.
- Class: the role to communicate through clothing or equipment.
- Presentation: the character’s broad visual presentation.
- Art style: the general rendering direction for the image.
Step 2: add visible details only if they matter
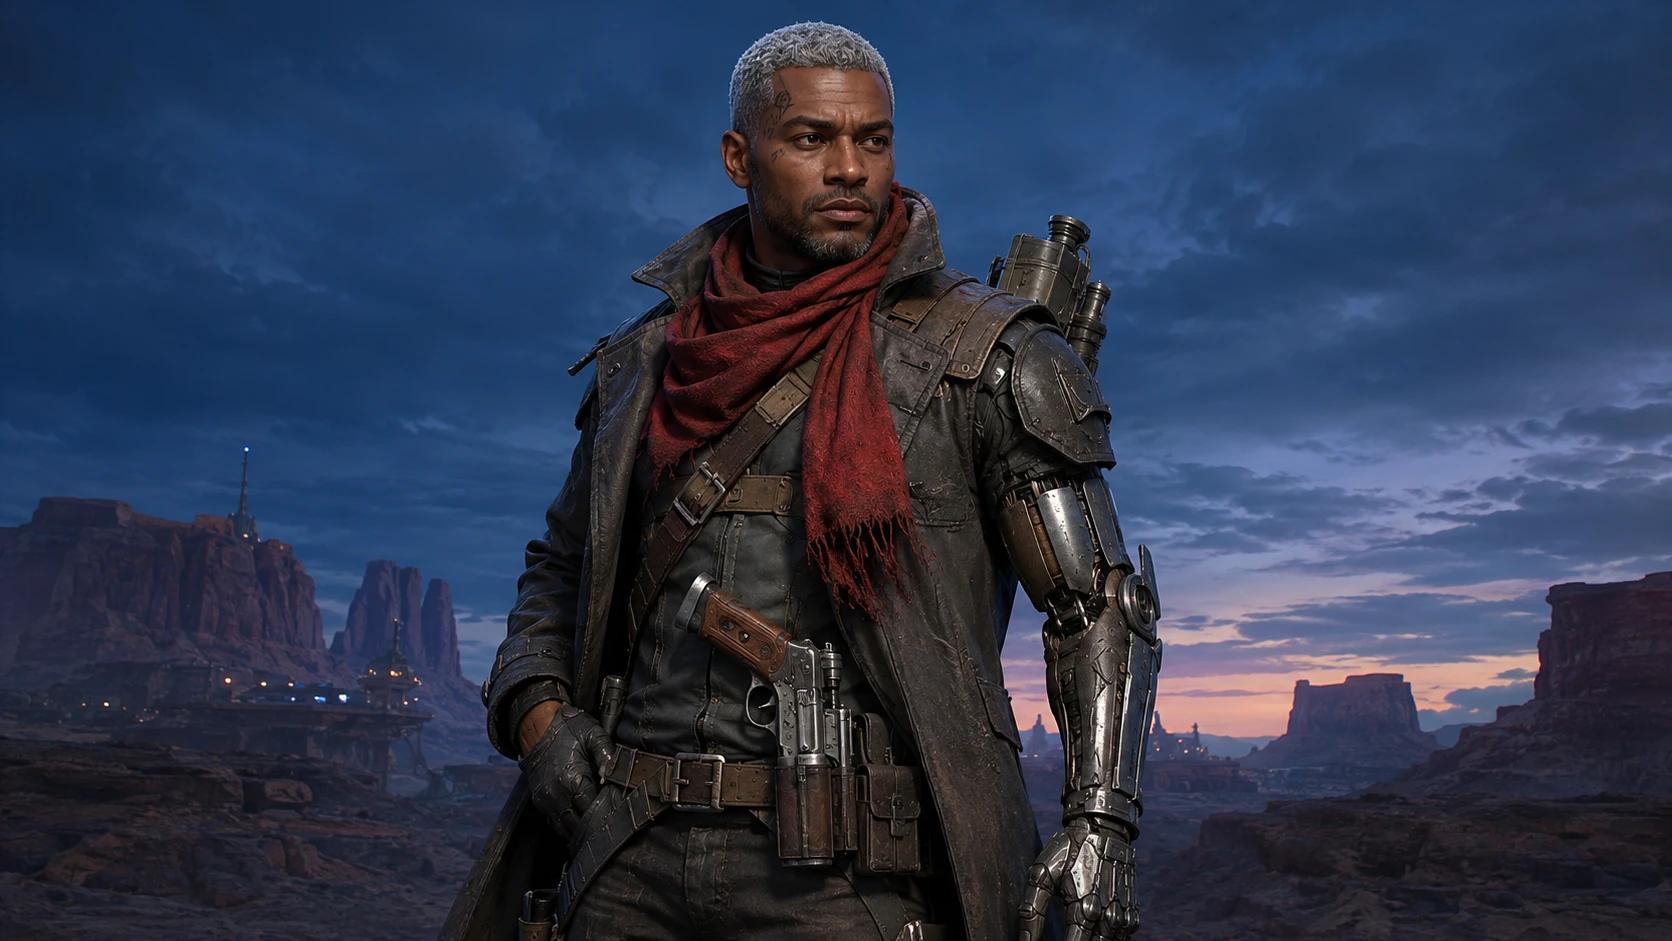
If you need the art to communicate more of the character’s story, use the main D&D portrait generator. It accepts optional appearance, equipment and mood choices. Keep the description concrete: a scar over one eyebrow, a blue travel cloak, a worn holy symbol or a single decorated bow. These are details a portrait can actually show. A two-page biography may be important to roleplay, but much of it has no visible form.
Avoid stacking too many demands into one frame. A rogue with seven daggers, two crossbows, a flying cape and a magical city battle behind them may become difficult to recognize in a small avatar. One face anchor, one class-related object and a simple palette usually give you more usable identity than an inventory of everything the character carries.
Step 3: generate a first portrait and check the allowance
NanoEditor currently allows one successful guest portrait without signing in. This is a shared guest trial across the D&D pages, not one free generation for each separate tool page. After a new Google registration, the account receives 20 credits, enough for two additional portraits at 10 credits per generation. Each request creates one image. A failed guest generation does not consume the successful guest allowance.
The limited free starting path is useful when you want to see whether a guided form fits your expectations before purchasing a larger allowance. It does not imply guaranteed resemblance to a specific existing character or unlimited retries. If you are comparing free services, read the dedicated free D&D generator guide for how other providers handle token-based allowances.
Current plans and usage limits are explained on NanoEditor’s pricing and portrait allowances.
Step 4: check the portrait in a real tabletop crop
A usable character portrait should survive a small square or circular crop. Reduce the image to avatar size and ask three questions: can you still see the face; can you identify the ancestry or silhouette; and is the class cue clear? A great full-size painting that becomes unreadable at 64 pixels is not necessarily a good profile picture.
If the face is too small, simplify the background or request a closer composition in a new attempt. If the identity feels generic, add one distinguishing mark instead of ten unrelated adjectives. For VTT use, keep a square master file and create a separate token crop when necessary. Our VTT portrait size guide explains the handoff in more detail.
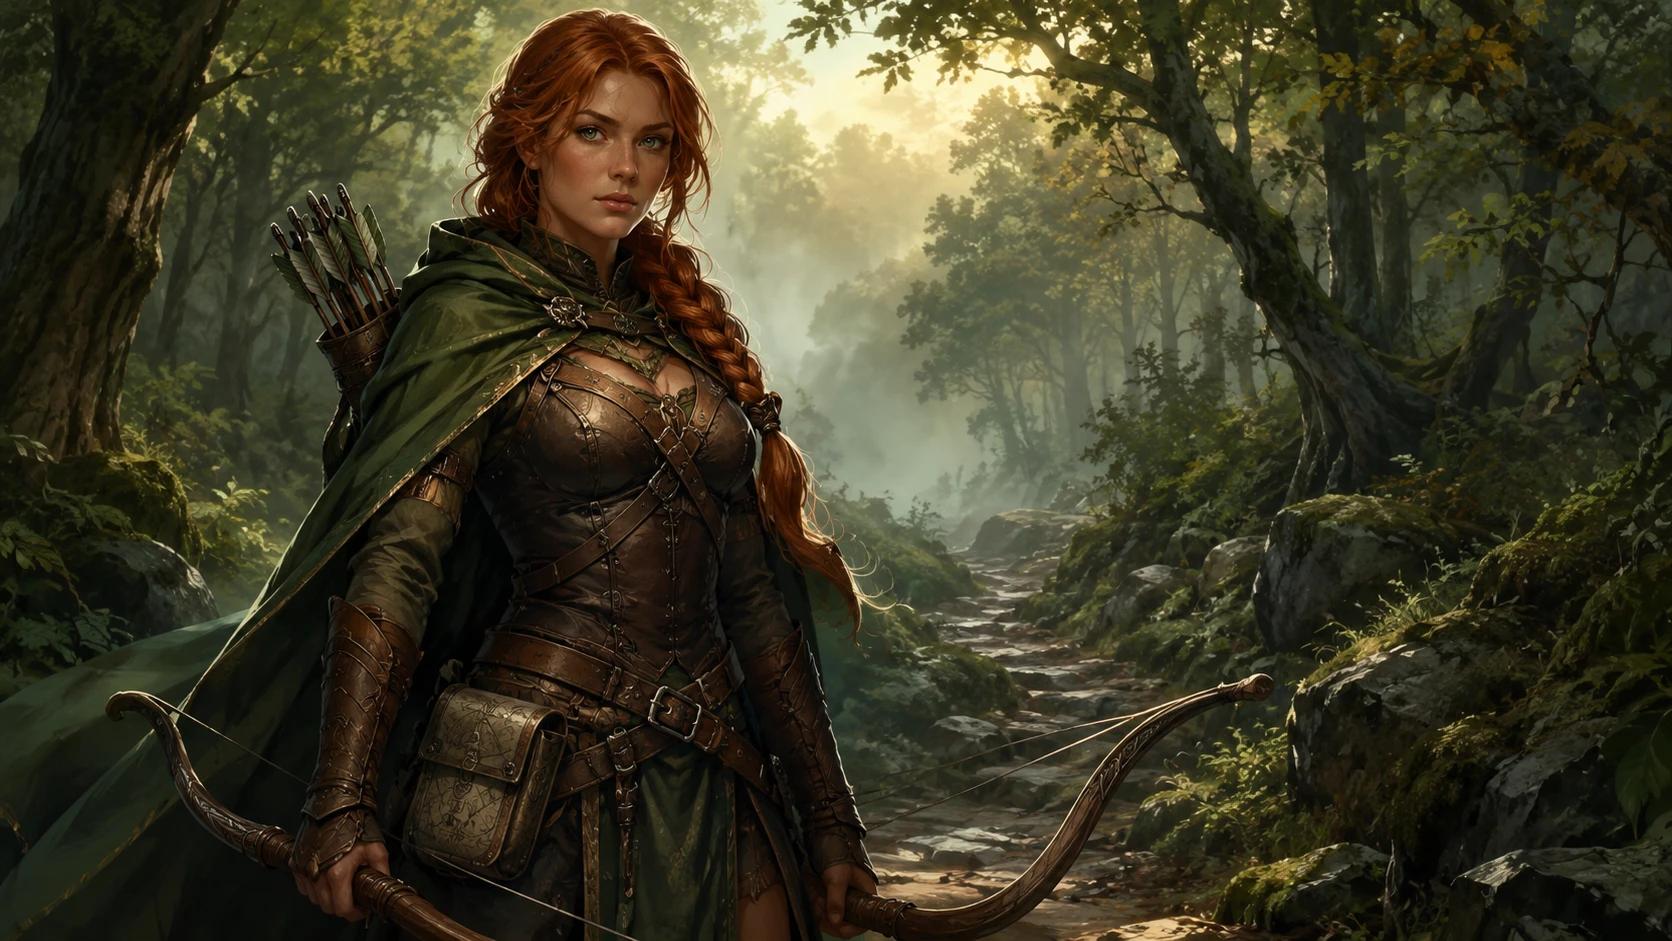
- Face visible at small size
- One ancestry or identity cue that remains recognizable
- One class-related item that does not obscure the expression
- A clean crop and downloaded file you can use in your campaign
When is a text prompt or a different tool still better?
Structured fields are useful because they reduce decision-making, but they cannot represent every composition. If your goal is a four-character battle scene, a specific camera angle, a detailed city map or exact continuity across many character poses, you may need the flexibility of a general image studio such as Midjourney or Leonardo AI. Prompting and reference controls are not a flaw; they suit different jobs.
You can also write a short brief for a human artist if you need exact clothing symbols or important plot details. Treat the guided portrait as a starting visual identity rather than a replacement for every kind of fantasy illustration. The key is to choose the tool that supports the kind of asset you will actually use.
A no-prompt D&D character portrait checklist
For a new character, start with a single class and ancestry and choose one coherent visual direction. Generate once, judge whether the face and signature gear are legible, then decide whether an additional detail will meaningfully improve the result. This is faster and more repeatable than adding a new batch of random adjectives after every image.
If the quick generator is too simple, move to the full guided portrait tool and add optional appearance details. If you find yourself wanting to control scenery, lighting rigs, many characters or inpainting, use a broader image workflow. No-prompt generation is a convenience for defined portrait tasks, not a promise that every creative decision can be automated.
Put the guide into practice
Open the Quick D&D Character Generator
Select character attributes and an art style without entering optional written fields.
Start creating